


1| sketch out your haunted house. i like to start by sketching my designs on white paper (this seems to help me visualize the haunted house better) and then free-hand copy them onto black card-stock paper. for silhouette ideas check out google images, Halloween decorations, or use your imagination!
2| using an X Acto knife or razor blade, cut out the silhouette. this includes all window and door openings, interior fences, or maybe even a bat, cat, or owl (basically anywhere where you want some color, cut out). the best part about this craft is that you can be as creative (or not creative) with your silhouette as you want. to make things go quicker i recommend using scissors to cut out the easy parts (like the outline of the house, etc. ).
3| outline on tissue paper the areas you want colored tissue paper. i prefer lots of different colors so there is a lot of tracing involved around here.
4| cut tissue paper according to your trace marks (on some parts this takes a bit of creativity getting the tissue paper clippings to fit just right but the good news is, you can always cut more if you make a mistake!). next, tape the tissue clippings to the back of the haunted house silhouette (the side with your sketch marks).
5| display and enjoy! what i adore about this craft is that you can enjoy them throughout the day with sunlight shinning through and at night with candles lighting them up.
tip: we decided to tape together three panels for each of the three haunted houses. this made each haunted house scene a perfect fit for my odd little square windows. also, the little houses stand up better if you slightly fold in the two side panels.
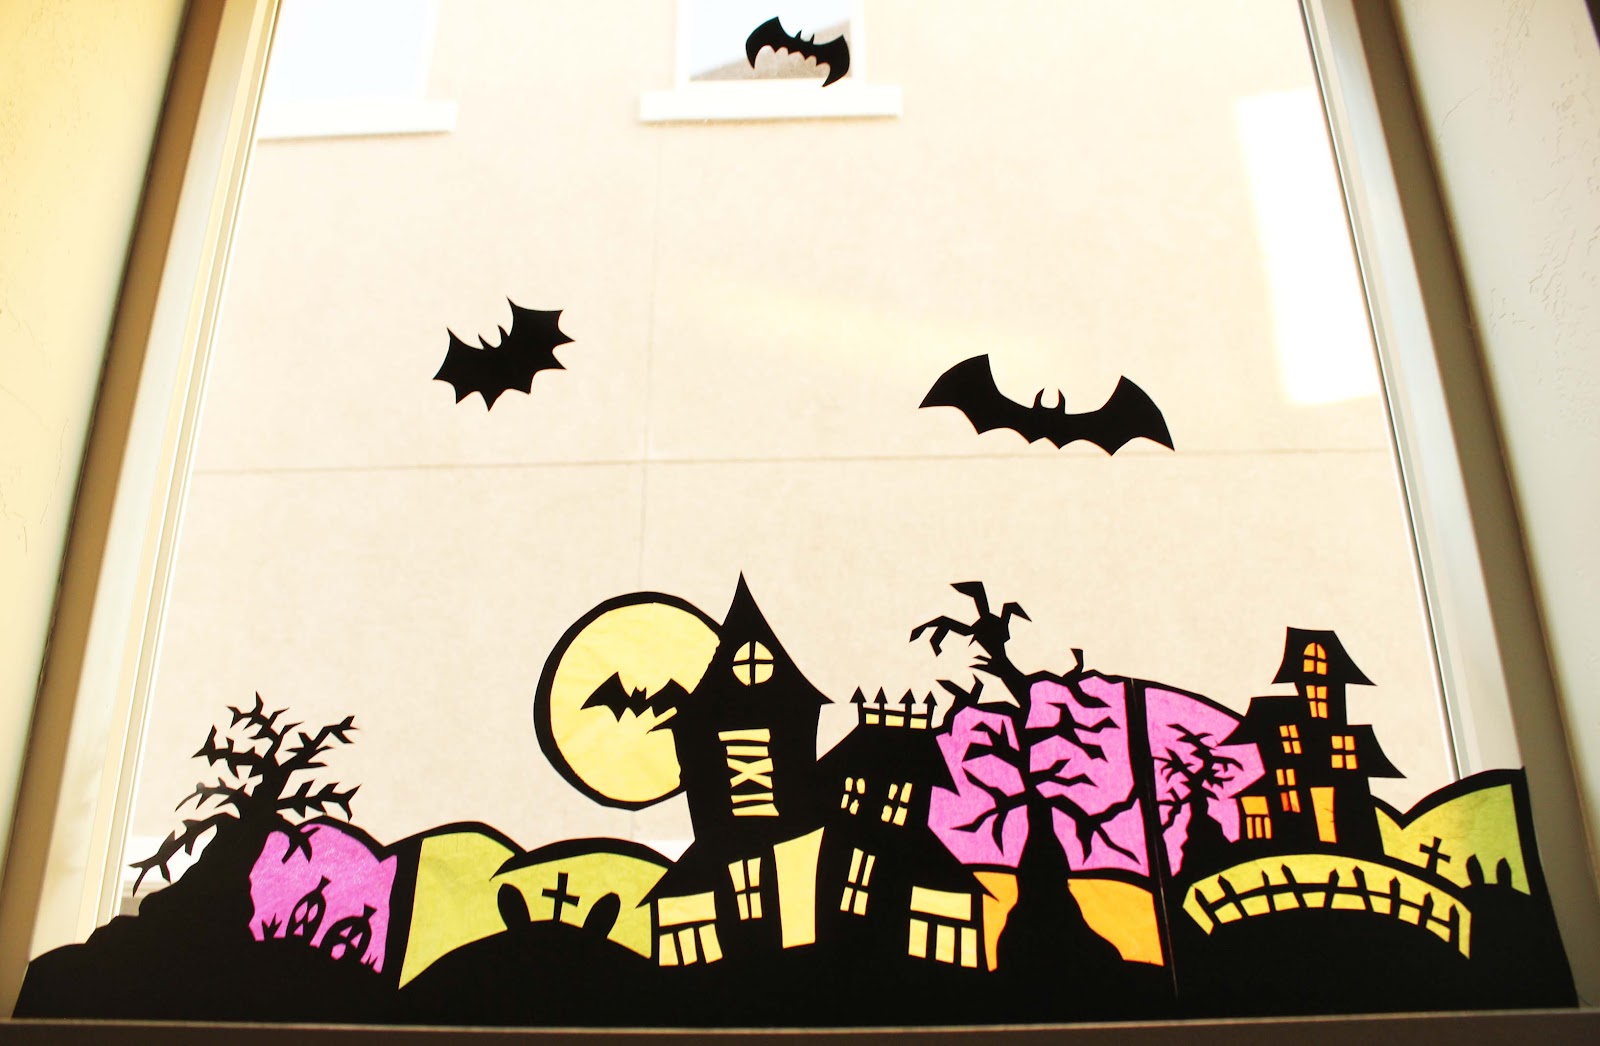


And of course...do not forget to add some batty friends!
I love this!!! I did something similar in my 2-d art class but I love the addition of tissue paper. So cute! Will be doing this soon!
ReplyDeleteOh please do share your pictures when you do!
DeleteI love them! If I weren't trying so hard just to breathe, I might try them myself. But October is a long month, so maybe the bats??? Darling!
ReplyDelete