

Hello all! The Home Depot holiday quest continues! Remember how I told you in this post about how I would post about my rustic garland and such? Well that is this post yo!
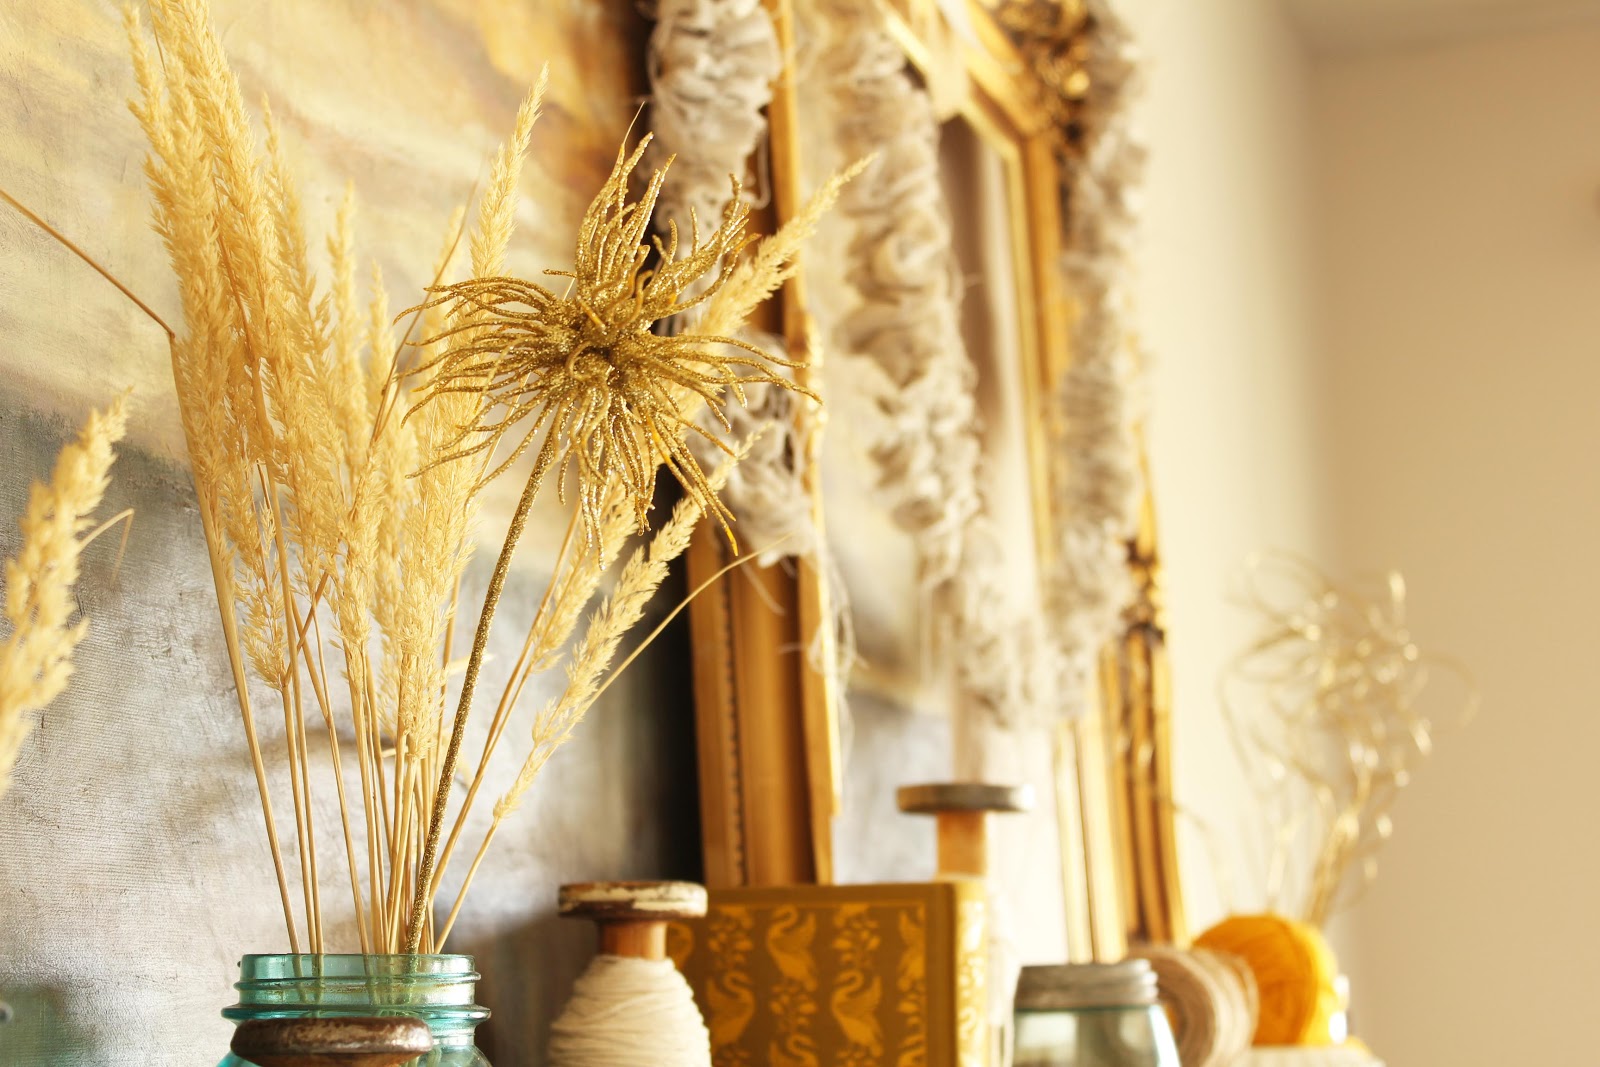
This week I decorated my mantel in fall fun (I got a little ahead of myself with the advent calendar in November, but we are all amped for Thanksgiving. We really are). And it just wouldn't be a fall mantel party without inviting the garland, and let me tell you I so have a crush on this garland. So lets get to it!
My mantel sports 2 kinds of garland:
1. painter's drop cloth garland
2. gardening burlap garland
Materials-All materials for both types of garland come from Home Depot of course!:
- painter's drop cloth (painter's drop cloth is literally the canvas-like material that painters throw on the floor to prevent paint spills from ruining the floor. You can find it in the paint section of Home Depot, it comes in lots of sized, and it is A-MAZING. Seriously, I have made everything from curtains to clothes out of this wonder material...and per yard, it is really inexpensive for fabric!)
and/or
- gardening burlap (I am not much of a gardener, but I am thinking this stuff is supposed to be used to wrap up trees and bushes and such. It comes in rolls that look like bubble tape bubble gum made of burlap. I'm addicted to it and it's cheap enough that I can indulge my addiction)
- jute (also know as twine...jute and twine come in lots of sizes but I prefer a medium thickness of jute/twin for this craft)
Steps:


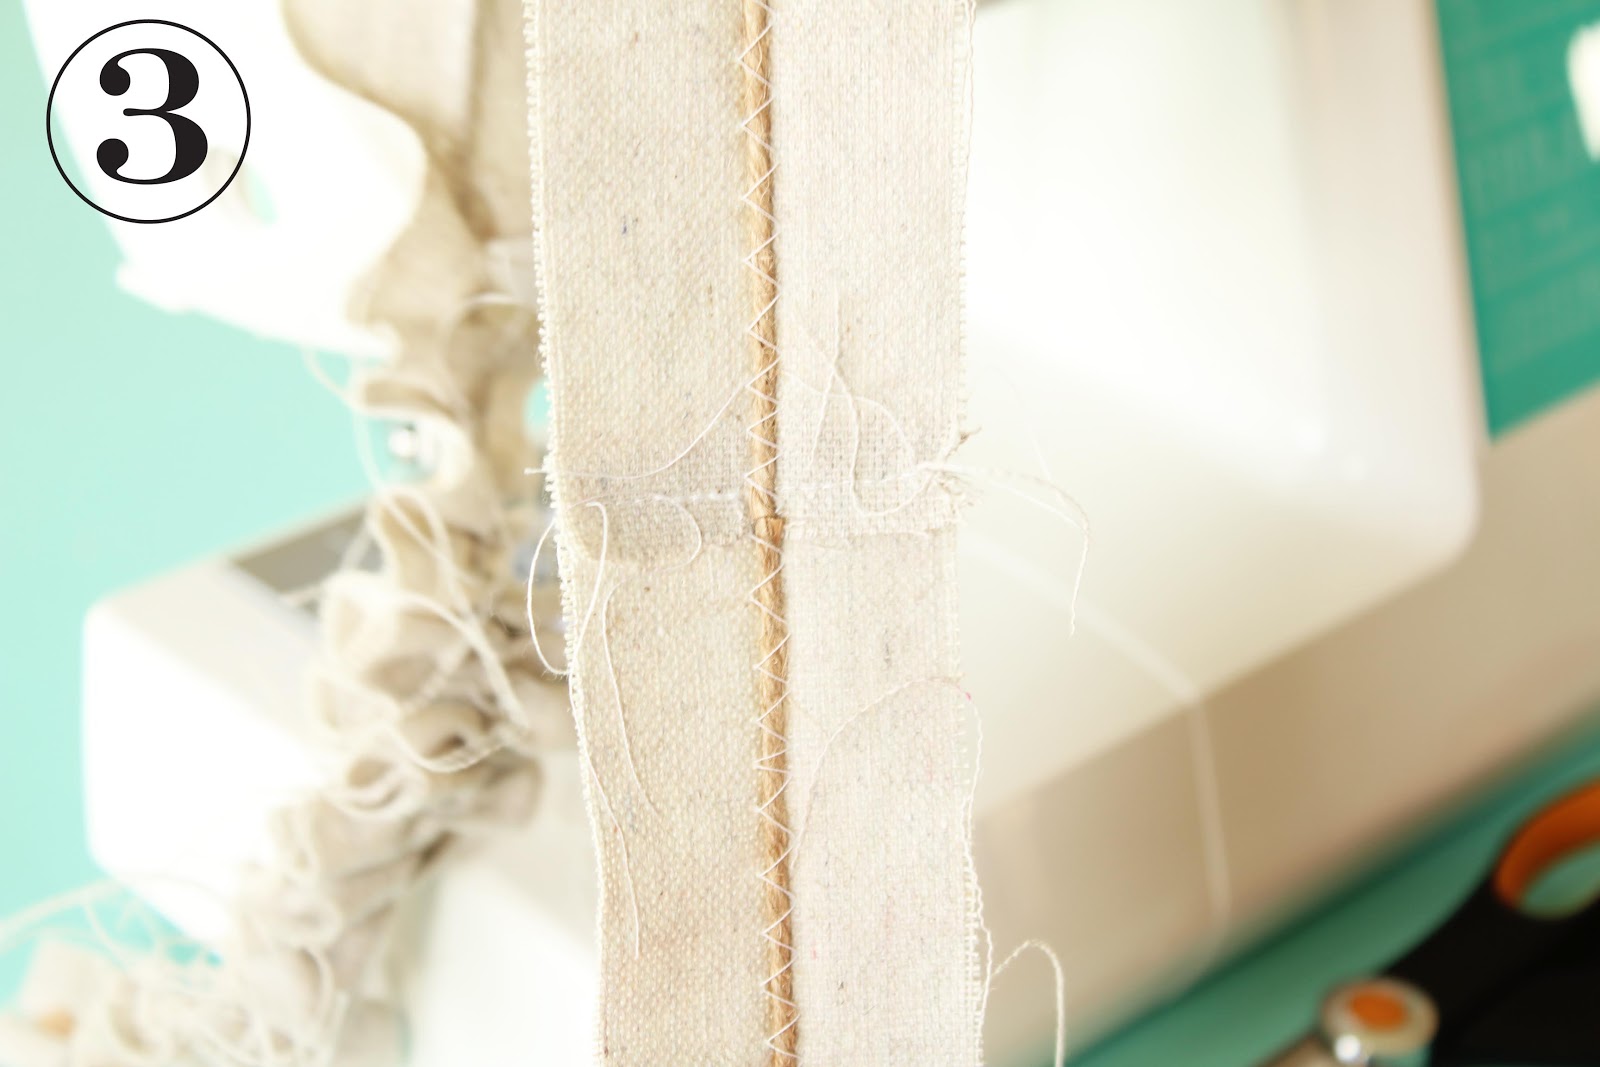
3| As you can see, The jute/twine is zig zag stitched down the middle of the drop cloth strip, but it is not stitched to the strip.

4| Now the fun part. Holding the end of the strip that has the jute/twine securely stitched to it and "scrunch" the strip up the jute/twine, creating a ruffly and scrunchy effect! The zig zag stitch makes it possible for the jute/twine to be pulled away from the strip and this creates the ruffles! Woot woot! A bit of a note here: I would pause with the zig zag sewing every couple feet and scrunch. Then continue zig zag sewing. Pausing to scrunch as you go is way easier than scrunching at the end of sewing an 8 foot strip. Also, your strip can be as scrunchy on not-scrunchy as you want. Make your scrunch yours!

5| After you have scrunched to your heart's content and reached the end of the strip, you must secure the jute/twine end the same way you secured it at the beginning: with a few straight stitches that make sure the jute/twine is going nowhere.
Note: If at any point you make a mistake or happen to zig zag stitch over the jute/twine, don't panic! Simple cut the jute/twine at the place of your mistake, scrunch all unscrunched jute/twine, and then straight stitch the jute/twine you just cut to the strip at the end of the new scrunched area. Then continue with the zig zag stitch. If you run out of jute/twine, just get a new piece and start where you left off!
6| enjoy!!!


Totally creative and cute! Can't wait to see it in person!!
ReplyDelete